How to Decorate a Shelf with Gorilla Spray Adhesive
Learn how to decorate a shelf the easy way with Gorilla Spray Adhesive! If you see an unfinished wood shelf at a craft store, try this option with paper in four easy steps.
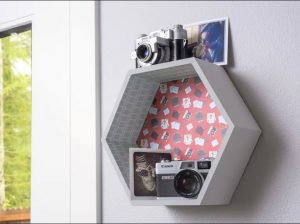
Have you ever walked into a craft store, seen a display of items, and thought, “I wonder what could I do with that?” That’s a common feeling for me. I’m curious if everyone feels that way. In particular, it’s the wood surfaces they always seem to have at the front of Michaels that perplex me. I can find a shape or surface that I like right away, but it takes me a minute to figure out what I want to do with it. That happened recently with this hexagon wood shelf.

For this particular shelf, I was immediately drawn to the unique shape and modern lines. I knew that I wanted to decorate it, but I wasn’t quite sure how – until I remembered Gorilla Spray Adhesive. I knew I had some scrapbook paper in my stash . . . and acrylic paint (of course) . . . and that with the Gorilla Spray Adhesive I could bring it all together and decorate a shelf for my craft room.
Gorilla Spray Adhesive is perfect for attaching paper to wood, among other things. Here’s why I used it for this shelf:
- It’s heavy duty so I knew it would be strong enough to attach the paper to the wood
- The bond is clear and permanent, though it’s repositionable for up to 10 minutes
- It has a controlled fine mist so it’s easy to be accurate and apply evenly
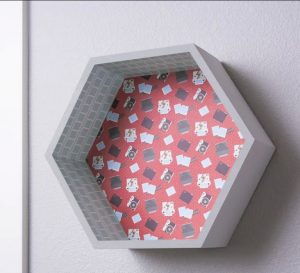
This project comes together in four easy steps. I’m going to show you how to decorate a shelf the easy way! You’ll love how easy it is to do with scrapbook paper. Here are the steps:
- Create a template
- Cut your paper
- Paint your shelf
- Attach your paper with Gorilla Spray Adhesive
If you’re ready to see the project in action, let’s move on to the tutorial.
How to Decorate a Shelf with Gorilla Spray Adhesive
Gather these supplies:
- Wood shelf
- Gorilla Spray Adhesive
- Acrylic paint – I used a light gray
- Scrapbook paper – two or three sheets
- Printer paper – two sheets (you can use scrap paper or junk mail as well)
- Tape
- Scissors
- Pencil
Before you begin, choose two coordinating pieces of scrapbook paper and a matching paint color to use for your shelves. One of the paper designs will go on the inside back of your shelf; the other will go around the inside edges. Set the paper aside for the moment.
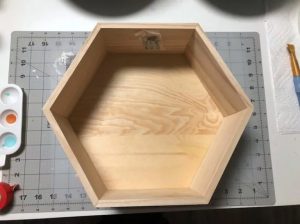
Place your shelf down on your work surface with the flat back down.
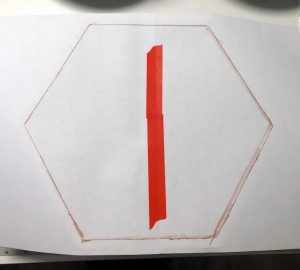
You’re going to make a template so that you can cut out your scrapbook paper. Tape two sheets of relatively thin paper (you can even use gift wrap or tissue paper) so that they cover the front of the shelf. Use a pencil to rub along the inside edge of the shelf, so that you’re making a tracing you can use as a template.
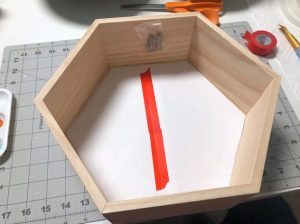
Cut out the template along the outside lines and place inside your shelf. Make any adjustments as needed with your scissors or craft knife. You want the paper to closely fit inside the shelf.

Place the template down on the scrapbook paper and cut out. Your paper is ready to attach inside the shelf! At this time, cut the additional pieces that will line the inside of the shelf. The best way to do this is to measure the width and height using a ruler, and then cut the scrapbook paper to that size. I ended up with six rectangles.
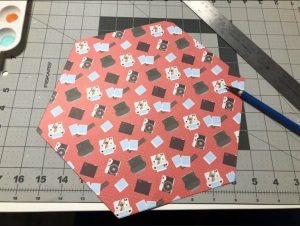
At this time you’re also going to paint the shelf. I painted everywhere that I wasn’t going to cover with paper and used light gray. I gave the surface two coats and let it dry completely. This is the Gorilla Spray Adhesive that I used to bond the paper to the shelf! It bonds wood, metal, fabric, foam, plastic, paper, glass, leather, and more! I could really attach anything inside the shelf, which is pretty cool.
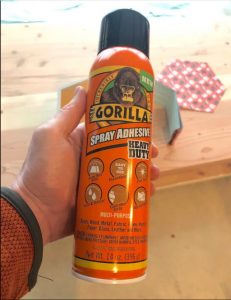
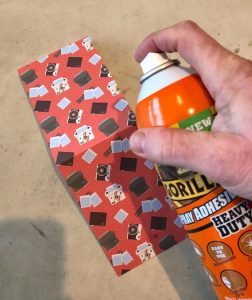
Spray a light mist of Gorilla Spray Adhesive on the back of the paper. You have ten minutes to position the paper on the wood before it becomes permanent. You can spray the Gorilla Spray Adhesive inside or outside too, because it meets the <30% Mist Spray Adhesive NEW VOC standard.
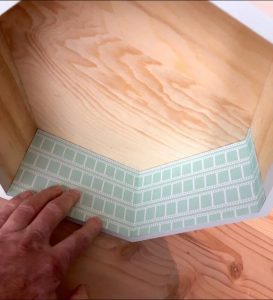
Place the pieces inside the shelf and adjust. You can trim with a craft knife as needed. Repeat until the scrapbook paper completely covers the inside.
When you’re ready, hang the shelf on the wall! My shelf came with hardware. What do you think? It’s such a fun display for my craft room!

