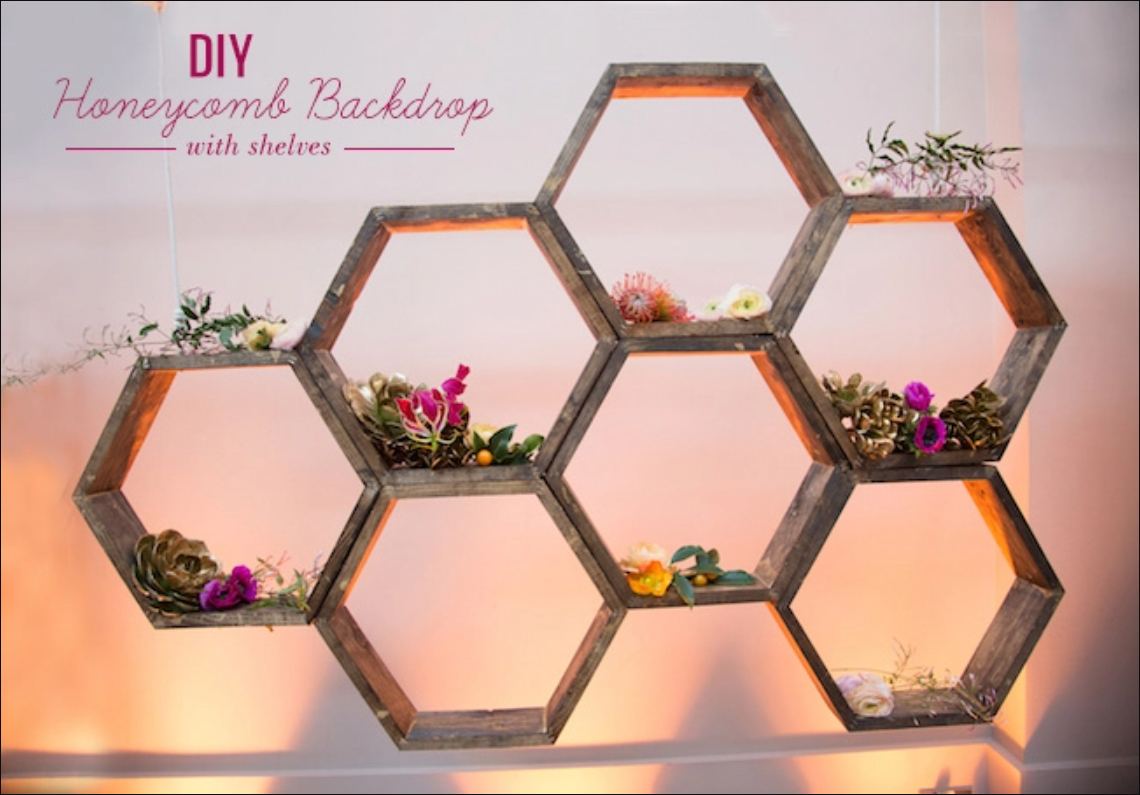
Easy Honeycomb Backdrop Shelves DIY with Gorilla Wood Glue

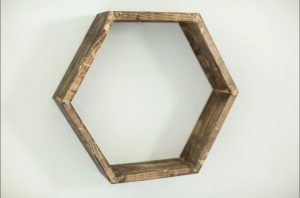
If you loved the honeycomb shelves, then you’ll go crazy for the DIY we are sharing on how to make them! We love how much of a great statement piece they are for your wedding or home. So lets see how its done…
What You’ll Need:
- Miter saw
- Pine boards ( 1” x 4” x 6’)
- Staple gun & staples
- Gorilla Wood Glue
- Measuring tape & pencil
- Wood stain & rags
- Disposable gloves
- Drop cloth

Tip: Before jumping into steps 1 through 3, note that you have a couple of options when it comes to cutting the wood. If you have access to a miter saw, you can do this yourself at home. If you don’t have a saw you can always ask someone to help cut your wood at Home Depot or your local hardware shop.
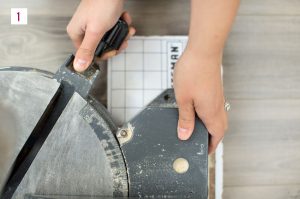
Step 1: Set your saw blade to make a 30 degree cut. My miter saw doesn’t have the option to adjust the blade, so I just adjusted the bottom of the saw to 30 degrees and turned my wood on it’s side before making the cut. You will be flipping the wood after each cut so that the angles are facing opposite directions.
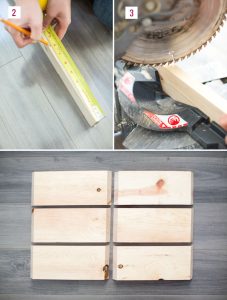
Step 2: Decide the length you want for each cut. I made my pieces each 8 inches long. Measure the wood and mark where your cuts will be made.
Step 3: Make your first cut and then flip the wood and make your next cut. Repeat this process until you have all 6 pieces cut.
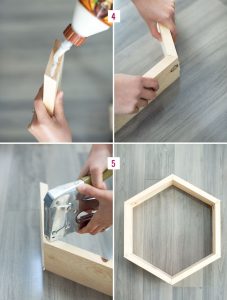
Step 4: Now it’s time to put them together! Apply Gorilla Wood Glue to one end and put it together with the end of another piece of wood. Gorilla Wood Glue is the perfect wood glue for this project. Gorilla Wood Glue offer a strong, tough and long lasting bond. On top of that Gorilla Wood Glue is water resistant and will dries a natural wood colour making it hard to notice. All and all Gorilla Wood Glue is truly a trusted friend for these kind of DIY project
Step 5: While holding the wood together, Use a staple gun to reinforce the seam. Flip it over and staple the seam again. Repeat this until all of your pieces are connected and you have your hexagon shape. Wipe the excess wood glue down with a damp rag and allow enough time for the wood glue to dry.
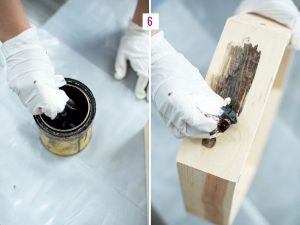
Step 6: Once the wood glue is dry, place the the hexagon shape on the dropcloth. Put on your gloves and apply the stain using a rag. A little goes a long way! Make sure there are no drips and the stain is rubbed in well.

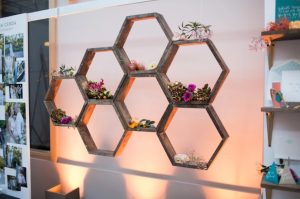
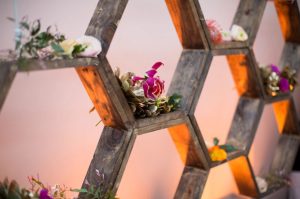
We choose to make 7 of these and screwed them together to make a hanging honeycomb shaped backdrop sculpture accented with flowers. They look great both separately or in a cluster!
Love these rad shelves! We could totally see them as a fun ceremony backdrop or easily transitioned into home decor as fun wall art.