DIY Framed Nautical Flags With Gorilla Spray Adhesive
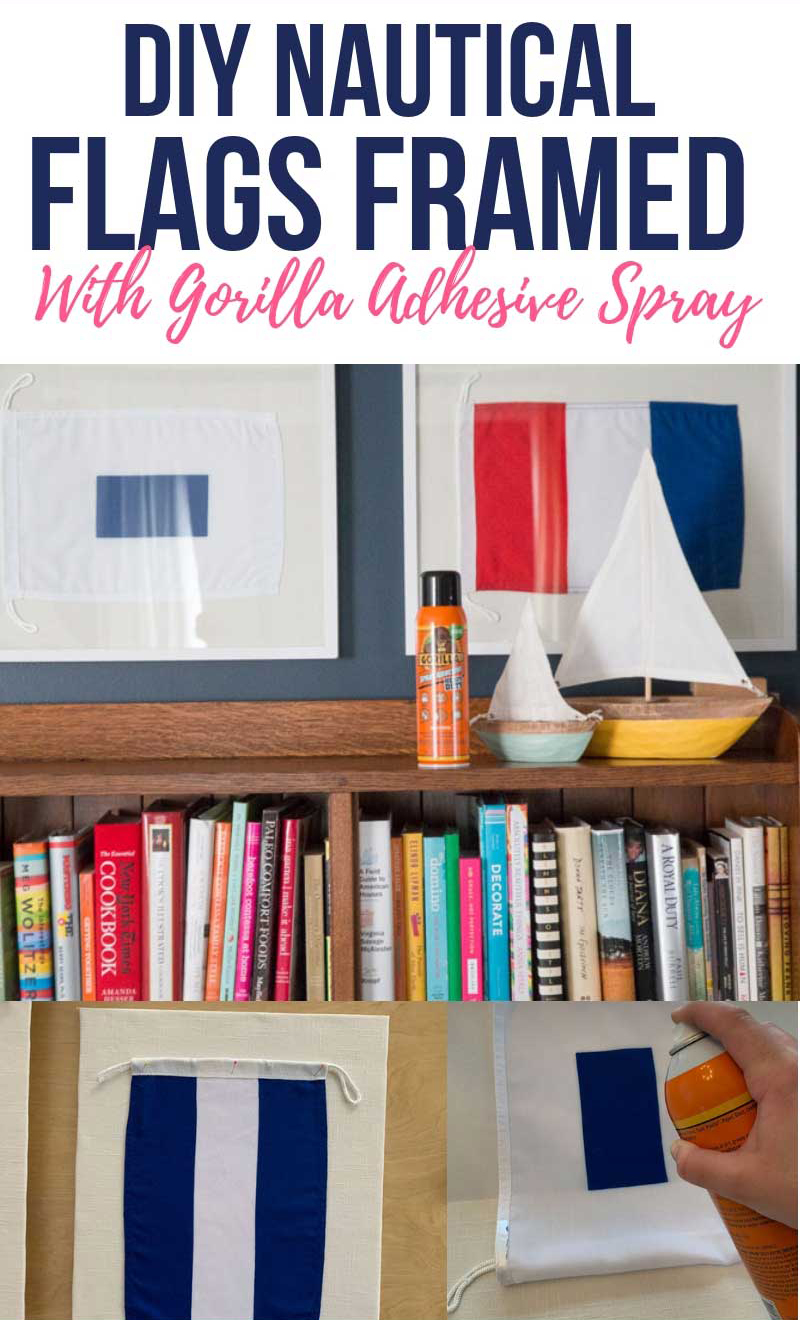
I love the look of nautical flags and want to use them to decorate your home? This budget-friendly and easy DIY Framed Nautical Flag cost under $30 each (compared to $185 a piece elsewhere!) Plus, it’s a fun way to display your child’s initials!

MATERIALS FOR FRAMING NAUTICAL FLAGS:
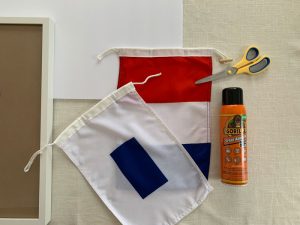
- (3) Nautical flags purchased online
- (3) Frames either white or gold
- (1) Vard of linen-looking fabric in an off-white color
- (1) Gorilla Spray Adhesive
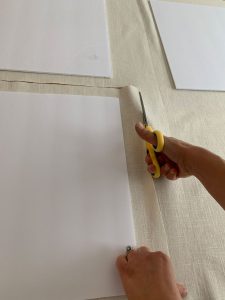
- (3) Foam poster boards
- (3) Sewing pins used for temporarily positioning
- Measuring tape
- Iron and ironing board
- Craft knife or Chef’s knife (to cut the foam board)
- Sharp fabric scissors
DIRECTIONS FOR FRAMING NAUTICAL FLAGS:
1.) Procure all the materials. Next, iron all the fabric and flags so there aren’t any creases.
2.) Cut the foam board the same size as the back of the frame. I removed the frame backing and laid it directly on top of the foam board to use it as a cutting guide. Repeat three times, so you have one foam board for each flag.
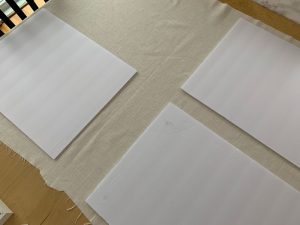
3.) Next, cut the fabric, leave approximately 1″ on each side so you can wrap the board and repeat three times. Lay the side of the fabric that you want to show facedown on the table.
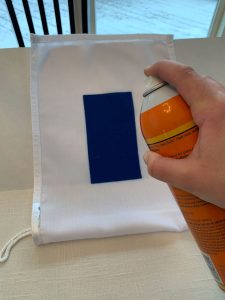
4.) Now it’s time to adhere the fabric to the board! To do this, we want to use Gorilla Spray Adhesive, a heavy duty adhesive spray that dries permanent but allows me to reposition the fabric so it’s perfect!
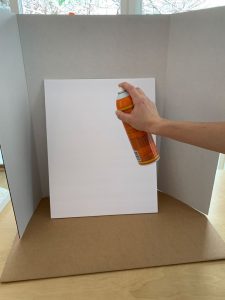
I chose to use Gorilla Spray Adhesive for three reasons: (1) it is very strong, (2) it’s non-yellowing (I don’t want my fabric to discolor), (3) it is easy to apply in a controlled fine mist. It works on a ton of different materials like wood, fabric, foam, and even glass!
To apply Gorilla Spray Adhesive, shake the can well, and position the nozzle 6-8″ away from the board. Use continuous motion to apply an even coat of Gorilla Spray Adhesive over one side of the foam board. Wait one minute, or until the spray becomes tacky, and then put the board face down on a hard surface to bond the fabric. Press lightly to adhere the fabric and the board. If you mess up, don’t worry, you can reposition the fabric for up to 10 minutes.
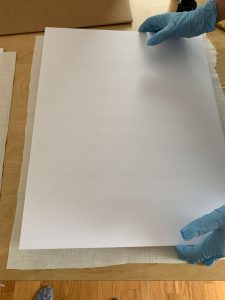
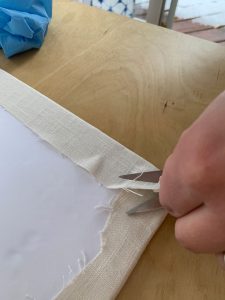
Ensure that the front of the board has no ripples with the fabric. Then, spray Gorilla Spray Adhesive onto the back edge of the board and the edges of the fabric so you can fold it over. Repeat the same process as above (shake the can well, wait one minute, and then position the fabric) gathering up any excess and pulling tight so there aren’t any wrinkles. Cut the excess off the corners.
Let it dry. Do this three times so each foam board has the fabric adhered.
5.) Next, we want to attach the nautical flag to the fabric board. Because the top of the flag was very bulky with the rope, I chose to use Gorilla Hot Glue with a hot glue gun to position it permanently. Depending on the manufacturing of your flag, you may or may not have to do this. To position the flag in place, I centered the flag, and then used three sewing pins to secure the top temporarily. Then, apply a thin line of hot glue to the back of the flag and the rope. Remove the pins.
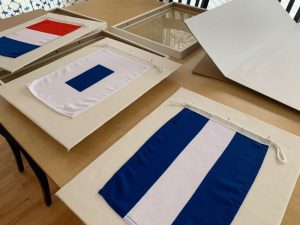
When the top of the flag is positioned, spray the back of the bottom of the flag. Then lay it flat on the fabric board in place.
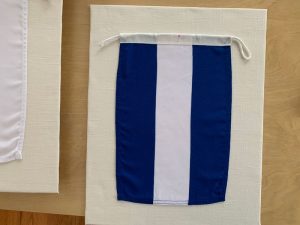
6.) Place the framed nautical flags in frames, and hang them on your wall. You’re done!
This was such an easy DIY project that allowed us to add personality to my son, Jack’s big boy room. Our love for sailing is a family is actually what brought my husband and I together (it’s how we met!) So, making a nautical themed room for my son, Jack, is a meaningful and fun project that reflects our values! Plus, with this easy DIY framed nautical flags, we saved over $350 by doing it ourselves!